Developer Installation
We prefer to use one of the following IDE softwares.
In our example we used the IDE IntelliJ IDEA.
After starting the developer IDE it will open a new window where you can create on the right side an new project.
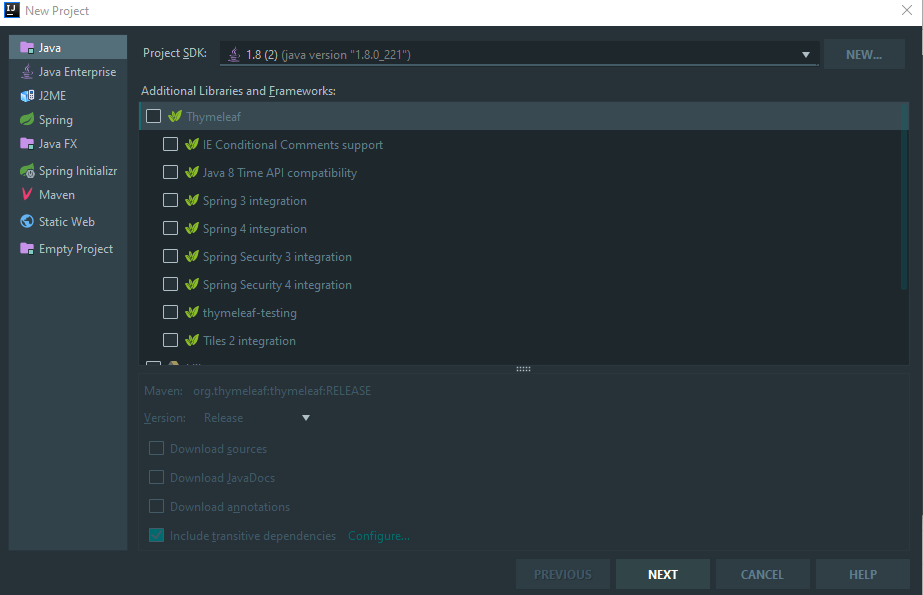
Select on the left side "Java" and continue without selecting checkboxes.
Setup the project name and the location. and click on finish
To start the developing we need a package.
Right click on the left side on the "src" direcotry and click on "new".
Select package and fill it with a name. Example: org.example.test

Select on the left side "Java Class" on the package and call it "Main" or your project name.

We need two libraries
Click in header bar on "File -> Project Structures"
In the new window, click on left side on "libraries" and create an new entry.
Select one of the downloaded libraries and continue it with the second one.

Switch to the "Artifacts" section and create an new Entry "JAR -> Empty".
Give the Artifact an name. Check the "Include in project build" checkbox.
In right view, it is important to include the project source.

Click on "Put into Output Root", apply and close the window.
The installation is done. Well done!
Continue with the next tutorial Hello World